This blog article was posted at a much later date than when the original video was posted. As a result, prices, descriptions, product availability, etc. may differ between the two.
DISCLOSURE: This article may contain affiliate links. By clicking on them you help support me to put more content out with no additional cost to you. I paid for this product with my own money and was not paid nor influenced to do this review.
NOTE As of the writing of this article, the Lee Loadmaster has been discontinued and replaced by their Lee Six Pack Pro. The good news is that Inline Fabrication has mounts for that press as well: Inline Fabrication flush mount (Amazon) and quick change top plate for Lee Six Pack Pro (Amazon) if you decide to pick that up instead.
Installing an Inline Fabrication Flush Mount
If you'd rather watch the full install process in action, you can watch the video here:
In this post, I’m walking through the installation prep and mounting process for an Inline Fabrication flush mount with the quick change system, set up for my Lee Loadmaster. This was my first time doing a flush mount like this, so I figured I’d document what worked, what didn’t, and what I’d do differently next time.
Bench Prep and Layout
Before cutting anything, I made some simple guide blocks to keep the plunge router from going too far. The goal was to stop just short of my layout lines so I’d have a little wiggle room to fine-tune the fit later.
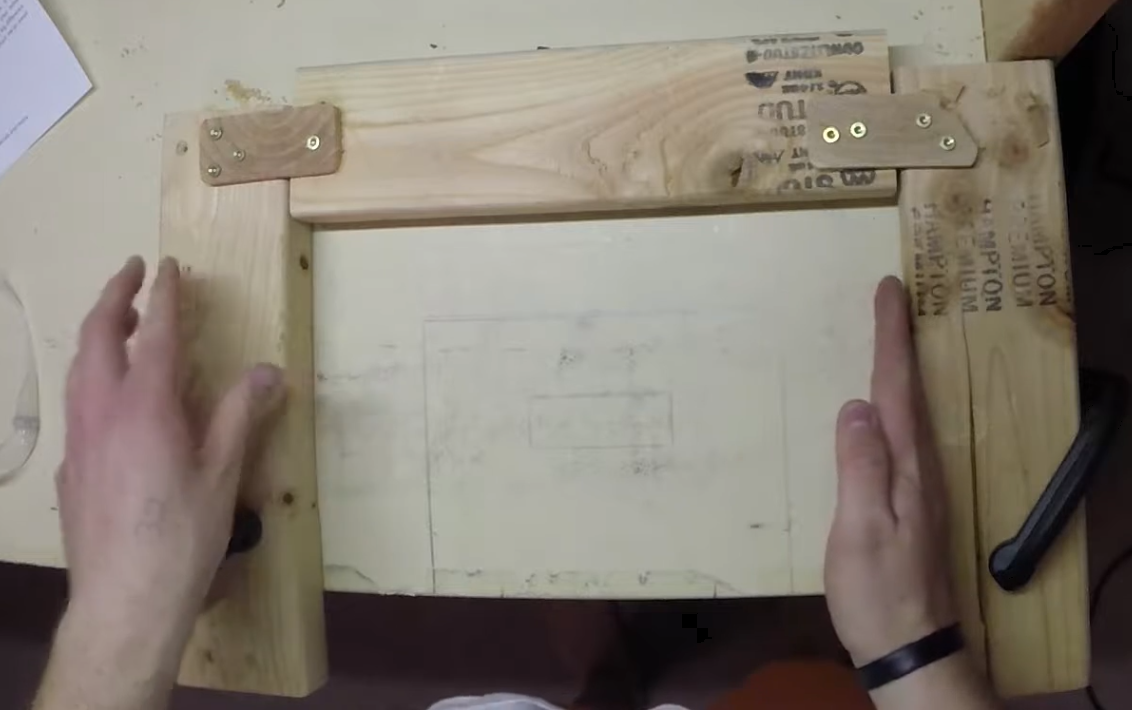
Originally, I considered making the plate completely flush with the edge of the table. Instead, I chose to let the flush mount hang off the front edge about an inch and a half. That extra space is important because it gives you room to access the wing nuts on the quick change plate underneath.
The quick change top plate (attached to the press) slides into the base plate and locks in with wing nuts below the bench, so clearance definitely matters.
Routing the Recess
Inline Fabrication recommends routing the recess to 7/16 of an inch deep, so that’s the depth I used.
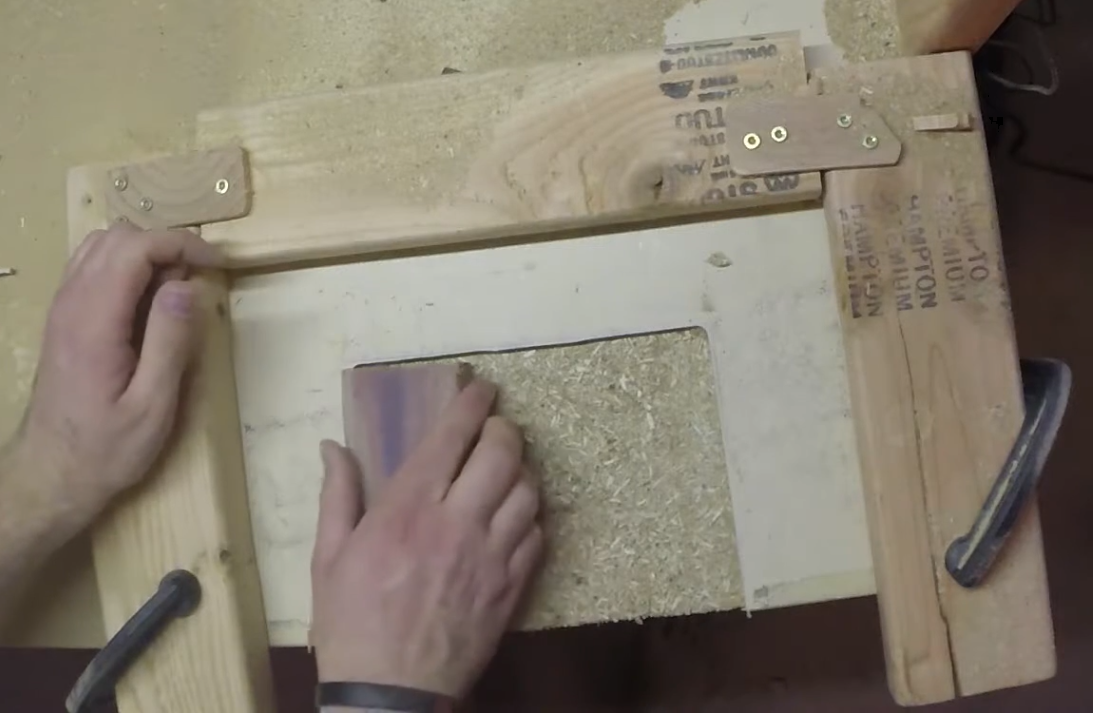
I set the plunge router and did a quick test fit by holding the flush mount plate against the router bit to make sure the depth looked close to flush. You can always remove a little more material later, but you can’t easily put it back.
After routing the recess, I cleaned everything up with a sanding block to help the plate sit evenly. The edges weren’t perfect — this was my first time using a plunge router for something like this — but it turned out solid overall.
Bolting the Flush Mount Down
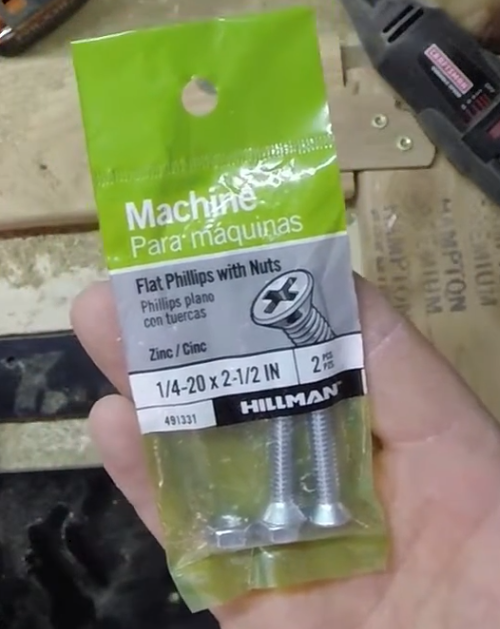
For hardware, I used 2½-inch countersunk flat bolts. My benchtop is about 1¾ inches thick, and I wanted enough length underneath for fender washers and nuts.
To make everything sit cleanly under the table, I:
- Drilled shallow channels at a slight angle
- Used a chisel to open them up just enough
- Made room for the fender washers to sit flat
Once everything was tightened down, the mount felt rock solid with no movement at all.
Installing the Quick Change Top Plate
Next up was installing the quick change top plate for the Lee Loadmaster.
One thing worth mentioning: the instructions that came with the flush mount and top plate were a little confusing at first. Some of the steps referenced the raised Ultramount system rather than the flush mount. Once I realized that, the process made a lot more sense and the rest was straightforward.
The countersunk bolts go in from the bottom, with washers and nuts on top. After tightening everything down, the plate felt extremely sturdy.
Small Mistake (and Fix)
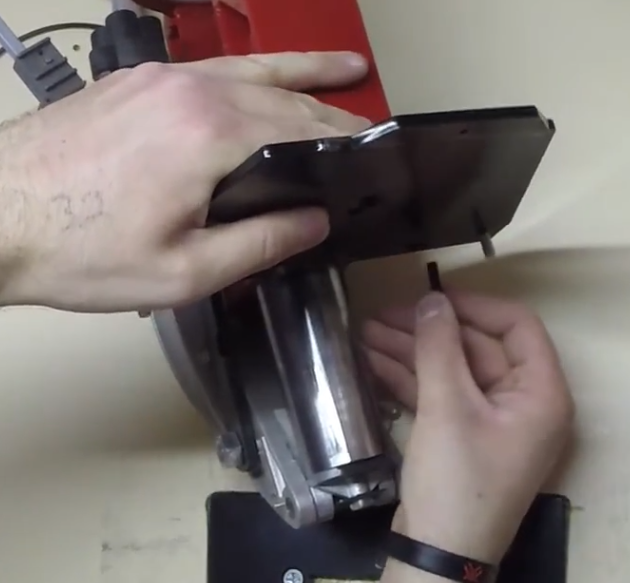
I did have to backtrack briefly because I forgot to install the press bracket that connects the Lee Loadmaster to the top plate. This bracket also supports the completed round bin.
Important detail: there is a correct orientation for this bracket. The holes look nearly identical on both sides, but one side is slightly different. It’s worth double-checking alignment before fully tightening everything down.
Once I corrected that, everything lined up perfectly.
Final Thoughts
Overall, this setup feels very solid and I think it’s going to be an excellent long-term solution. Being able to quickly swap presses or tools while keeping the bench clean and organized is exactly what I was aiming for.
This was my first flush-mount install and one of my earlier videos, so it wasn’t perfect — but it worked, and I learned a lot in the process.
If you have any questions, feel free to reach out to me on my socials: